
In most cases, the objects you insert in a presentation need modification to fit in. This How To article explains how to Copy, Move, Delete and Resize Objects in PowerPoint 2013 with the help of keyboard shortcuts.
Copy an Object
To copy an object, click the object. Hold down the <Ctrl> key and drag the image or graphic to its new location. The object is copied to a new location, so release the <Ctrl> key.
Move an Object
To move an object, click on it and simply drag it to the new location. After positioning the object to the new location, release the mouse.
Resize an Object
Resize an object to make it larger or smaller. To do this, click the object and click one of its sizing handles. To maintain the object’s proportions, hold down the <Shift> key while you drag the object.
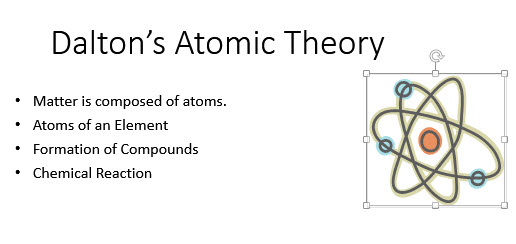
To resize an object, click on any of the sizing handles and then drag the sizing handle
Delete an Object
To delete an object, click on it and press the <Delete> key. This removes the object from the presentation.
The above tutorial explained how to Copy, Move, Delete and Resize objects in PowerPoint 2013. Learn how to perform simple procedures with objects by clicking them and using the sizing handles or dragging them. You may download a free template for PowerPoint, insert an image into it, and practice the basics.
Leave a Reply