
After learning How To Insert Shapes, the next thing to do is to format them. Shape formatting includes outlining it or filling color into it. Customize those outlines by making a colored outline or adjusting the outline thickness. The steps below explain how Formatting Shapes in PowerPoint 2013 is done.
Fill a Shape with Colors
You have the option to either fill a shape with color, or to customize the color. First, select the shape and click on FORMAT contextual tab. Locate the Shape Styles group and click Shape Fill. A menu appears, identical to the one highlighted in red, giving you a number of options to choose from. Select one of the options.
An alternative way to achieve this is to Right-Click the shape and click the Shape Fill button found in the Mini Toolbar.
Change Image Outline
Add or remove an outline from a shape through this method. Select the shape. Click the FORMAT contextual button. Click Shape Outline under the Shape Styles group. A menu appears. Select from the various options and click Close.
An alternative way to do this is to Right-Click the shape. The Mini Toolbar appears. Select the Outline option.
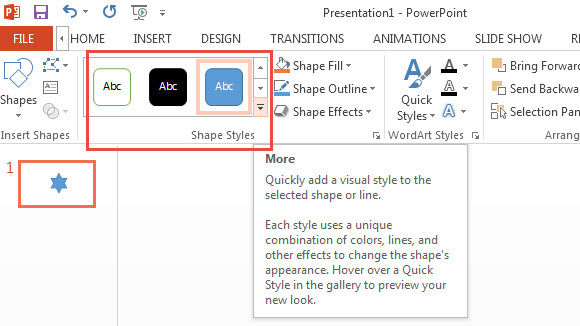
Change Visual Style
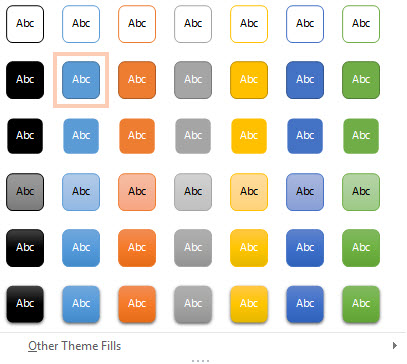
Changing a shape’s visual style improves its appearance. First, select the image and click the FORMAT contextual tab. Select from the various styles available. To get a preview of the visual style, hover the mouse across the shape.
Formatting shapes in PowerPoint 2013 includes filling them with color, changing their outline or to change the visual style. To accomplish any of these, select the image, click the FORMAT contextual button, and click on of the buttons under the Shape Styles group. To practice the above instructions, download a free presentation template. You may view a number of How To articles regarding Objects in PowerPoint 2013.
Leave a Reply