
When people make a professional looking presentation, they generally want everything to be presented properly. You don’t have to do everything yourself these days. There are websites like FPPT where you can get a nice looking template that suits your presentation. You can also get free to use images for your presentation.
However, what happens when you insert your chosen image in your presentation slide?
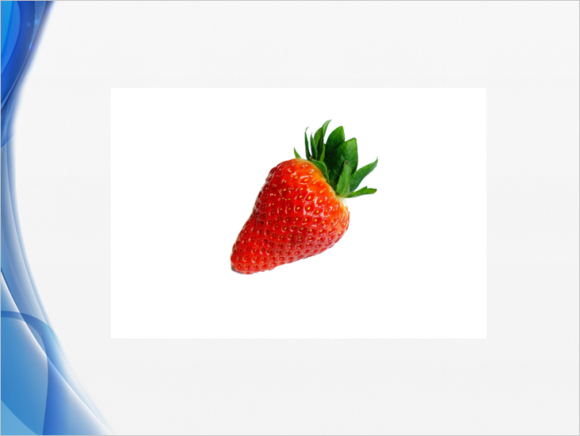
This is probably not the result you were looking for.
The ‘white box’ is visible and there’s really no way to make it disappear from within PowerPoint. Since this image is not a vector or a transparent PNG, it does not have a transparent background. But, we can fix that by using a free and feature-rich image editing software called GIMP.

This is a tutorial on how to remove the background from an image using the free picture editing software GIMP. The aim is to demonstrate how you can remove background from a bitmap image that you want to use in your PowerPoint presentation. These images may have file extension .jpg .gif .png (non transparent), etc
How To Remove Image Backgrounds Using GIMP?
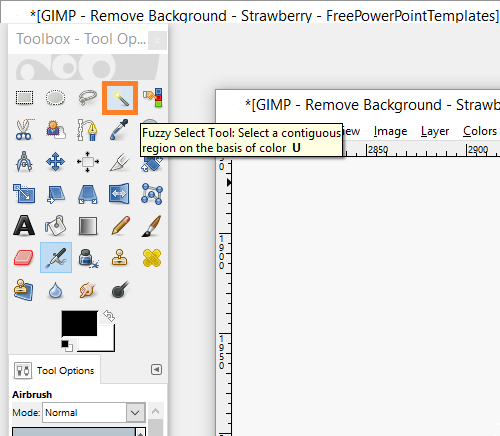
Here, we will be removing the background of an image by using the Fuzzy Selection tool.
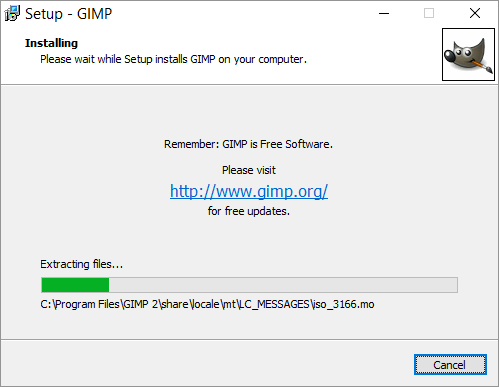
You can download and install GIMP from their official website by clicking here
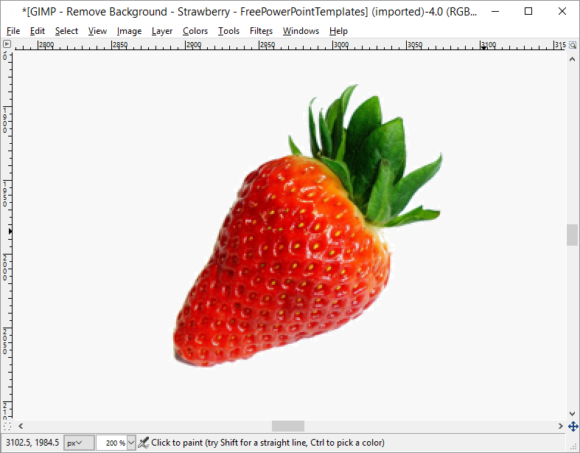
Go to File and click Open. Choose your image to open it in GIMP
I have added a subtle grey colored background to the image instead of the white background it previously had.
Click the Fuzzy Select tool from the toolbox on the left side of the screen
Click an even colored area on the image and then wait for it to process. Soon, you should see “marching ants” type of line around your main image
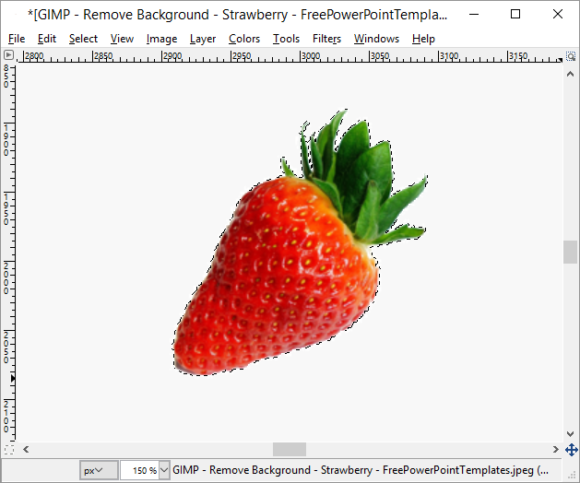
The image that you wish to keep should be in the “marching ants” line. If you’re having trouble with this, then click here for a more detailed tutorial
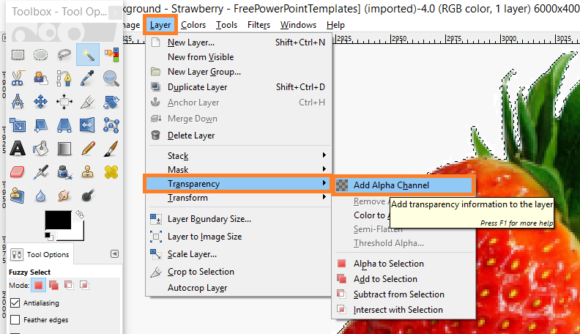
Add Transparency to the image by clicking Layer, Transparency, Add Alpha Channel
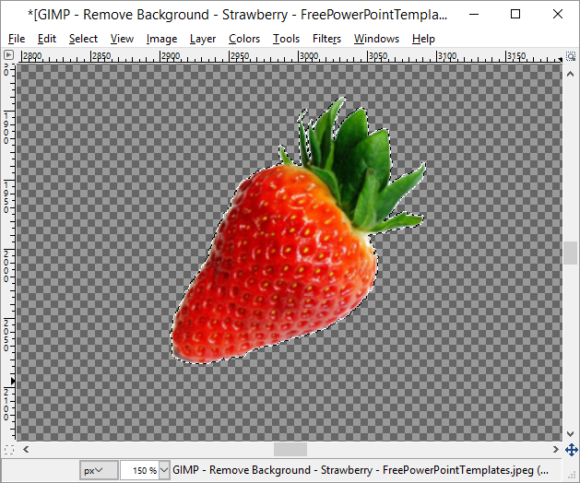
Now, press the Delete key on the keyboard to delete the background. It should look something like this
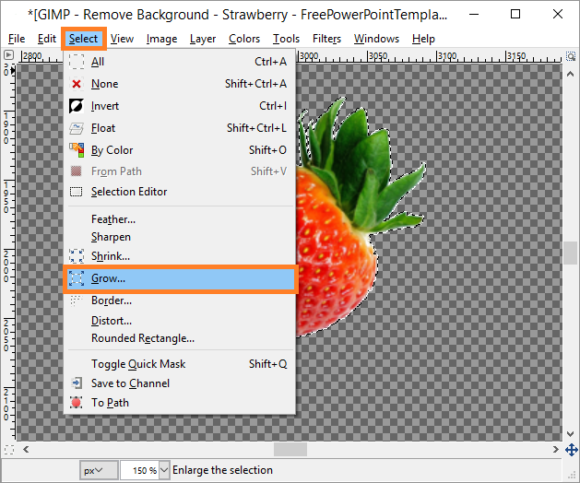
Give The Image A Smooth Outline
You can save the image now, but it will have jagged edges. You can make the jagged edges smoother by following these steps
Click Select and then click Grow
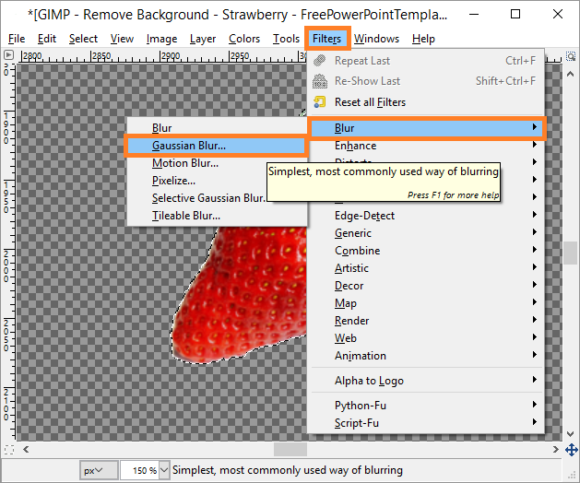
We can add a Blur effect to the edges of the image by clicking Filters, Blur, and then Gaussian Blur as shown below
Finally, we can save the image by clicking File, and then Export As
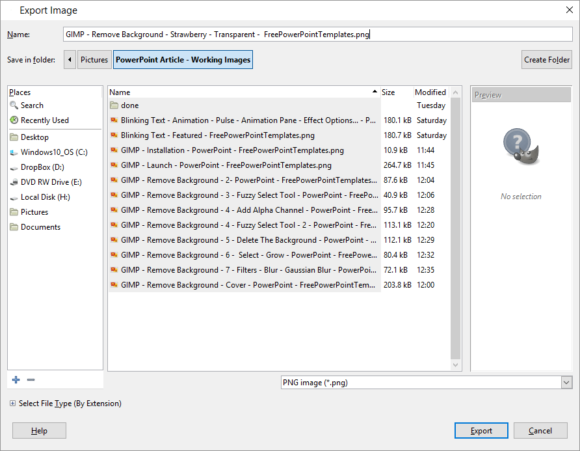
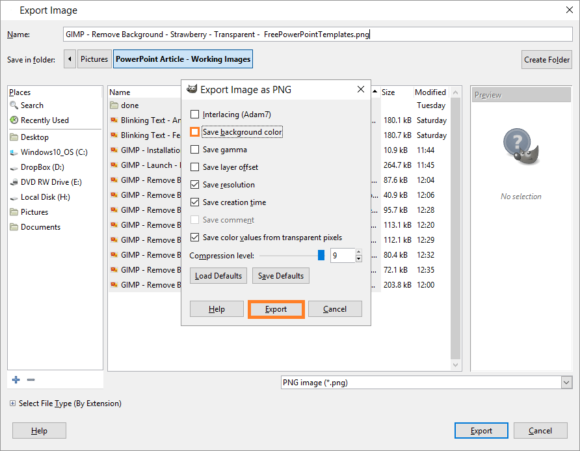
Make sure to choose to save as PNG and uncheck Save Background color, then click Export to save the image as shown here
Now, when you export the image in PowerPoint, it should look like this
Good Luck! and please share if you found this helpful 🙂
Leave a Reply