
A newly added feature in PowerPoint 2013 is the “Remove Background” feature from pictures. Remove Background from Pictures and Graphics in PowerPoint 2013 is down after inserting Clip Art, Screenshot, or a Picture. PowerPoint does not remove the background accurately without some tweaking from your part. The tutorial below explains exactly how to accomplish this.
Remove Background from Picture / Graphics
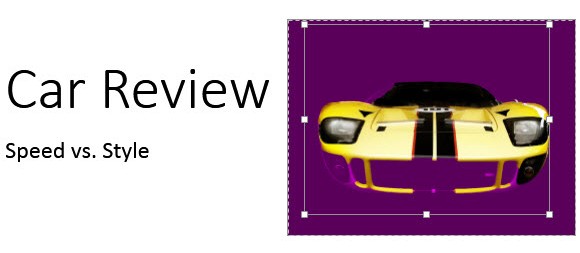
The image below has a car in the foreground, while the background is plain black.

To remove the background, select the picture and click on the FORMAT tab under PICTURE TOOLS. Click on Remove background, located under the Adjust group.
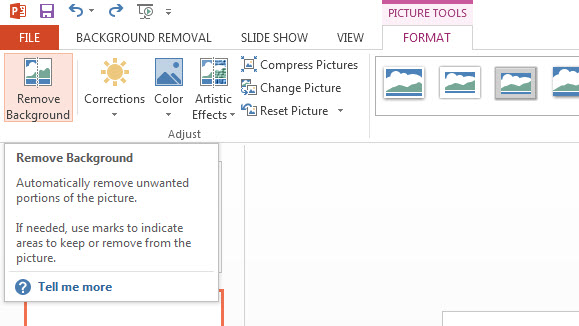
PowerPoint will automatically highlight the portion to delete in purple. Likewise, the area to be kept is highlighted inside a rectangle. Refine the selection by adjusting the position of the rectangle. Additionally, you have the option to manually Mark Areas to Keep as well as Mark Areas to Remove by clicking on the buttons in the Refine groups. After making the changes, click on Keep Changes.
The black background is removed from the original image. Note the finishing around the curves, as this is quite hard to achieve by marking the points to Keep/Remove manually. Practice removing background with free Gears theme and Cyclic Process background.

The instructions provided in the Remove background from Pictures and Graphics template are specifically for PowerPoint 2013. Previous releases of PowerPoint do not include background removal feature. To summarize, import an image and select it. Use the Remove background option from the FORMAT tab. Refine the selected portion manually to get the best results. Practice with free templates for PowerPoint and make some cool presentations.
Leave a Reply