Almost everyone has had to deal with sending a large Presentation file attachment through email. Not only is uploading large files through email attachments a slow process, many email clients have limits on how large a file should be. Moreover, your file recipients may not want to download a hundred megabyte presentation. It should be smaller.
Luckily, PowerPoint 2013 and PowerPoint 2016 have two features (Optimize and Compress) to help make your presentation files smaller. Lets look at how you can use these features to make a PowerPoint presentation smaller for sending through email. Here’s how!
How To Optimize Images, Audio, and Video in PowerPoint 2013?
The Optimize feature can convert media files to a different codec. This is done to ensure that the file play smoothly on different devices running PowerPoint. This feature can also reduce the file’s size to an optimal file size.
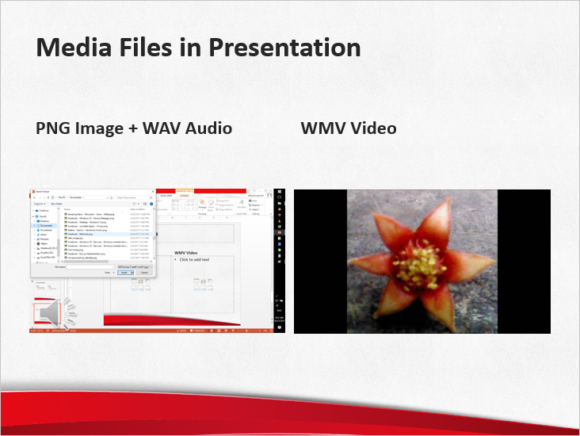
Here we have a presentation with some Media content in it
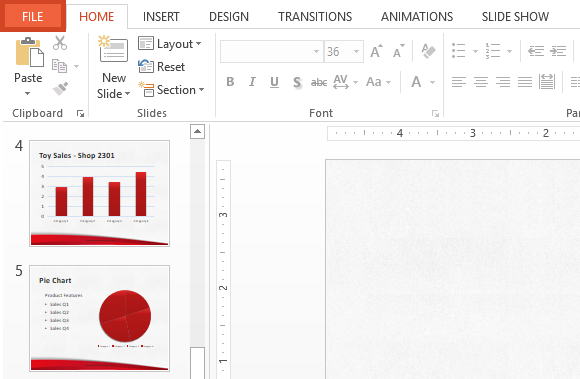
To Optimize the Media files, please click File
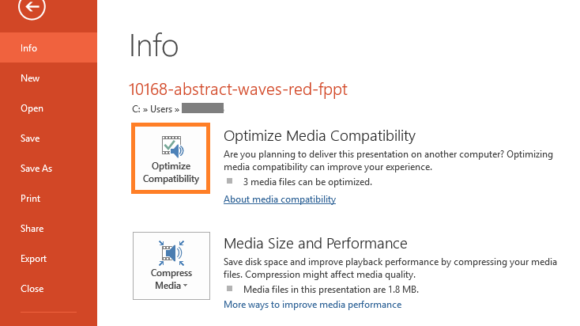
Click the Optimize Media Compatibility button
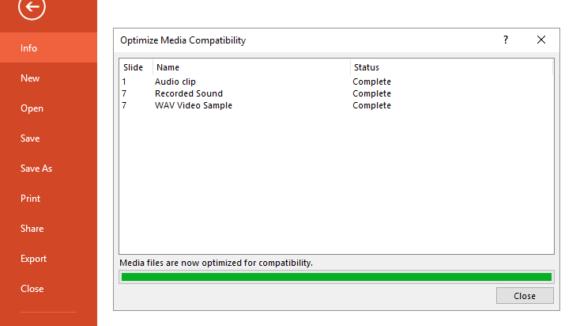
It should start optimizing files for compatibility. Click Close when its done.
The Optimize Media Compatibility button should disappear now
How To Compress Images, Audio, and Video in PowerPoint 2013 to Make Them Smaller?
Click File from the Ribbon Toolbar

Click the Media Size and Performance button to compress the media files in your presentation.
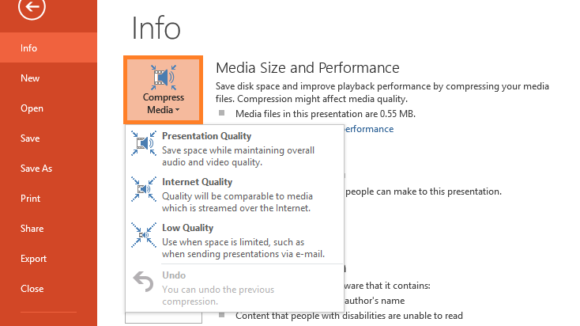
You should see three options when you click this button. These three options are for High, Medium, and Low quality. There is a trade off between quality and file size between these options. Larger files have higher quality and smaller files have lower quality after being compressed.
Please remember to play the file after compressing it. If the audio quality does not meet your requirement, then you will need to insert the audio file again and compress it to a better quality.

Leave a Reply