Options to make an image transparent are a bit limited in PowerPoint. You will not be able to change the transparency or opacity of an image in PowerPoint by using the built-in options. That is to say, you can’t change transparency directly using PowerPoint.
However, there are workarounds to this problem.
Don’t worry though, the workaround is very simple. In the end, you can choose how transparent the image should be on a scale of 0 to 100%
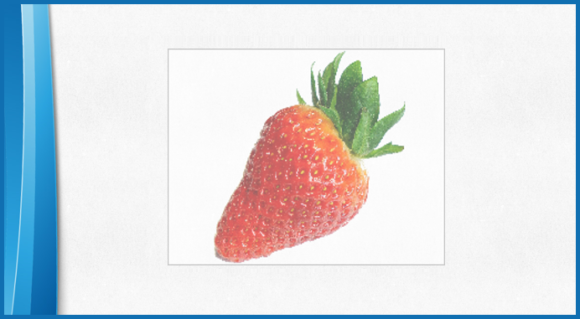
Draw A Shape to Add The Transparency Effect
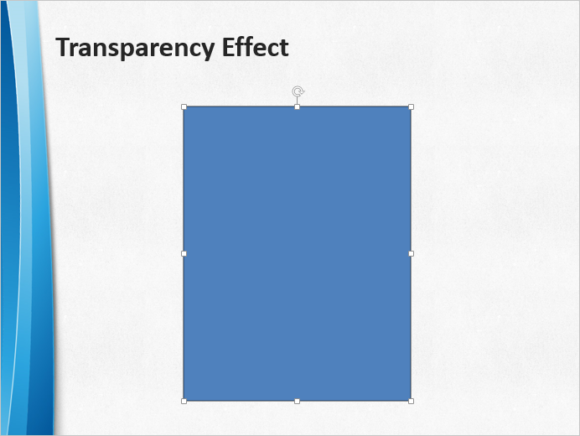
First we make a new shape. We can do this by clicking shapes and making a rectangle.
Draw the rectangle on the slide.
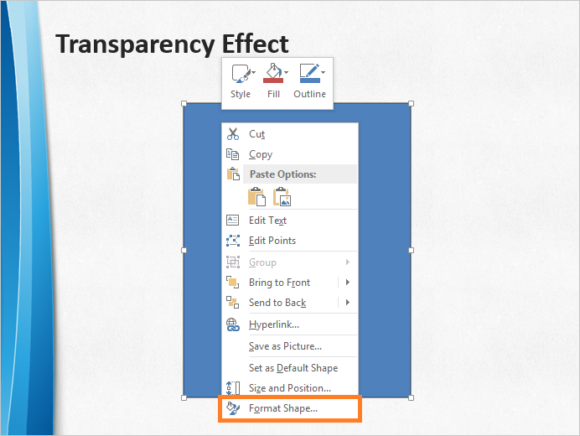
Right-Click the shape you just drew and click Format Shape to see more options
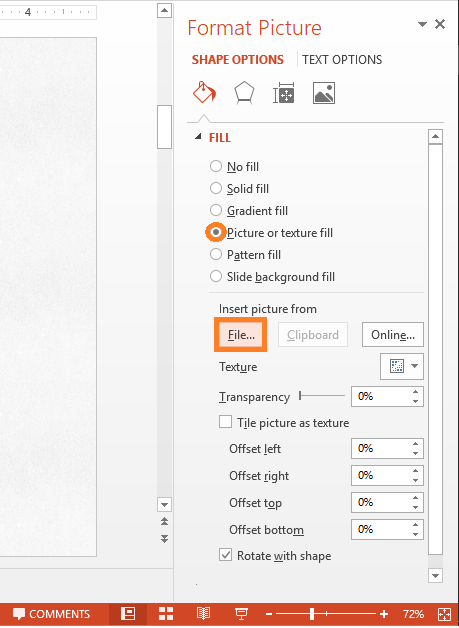
You should see more options in the right hand side of the screen. Click the Bucket icon (fill & line).
Under Fill, click the button labeled File… from the list
The image should appear in the shape. Resize the image to make sure it doesn’t stretch.
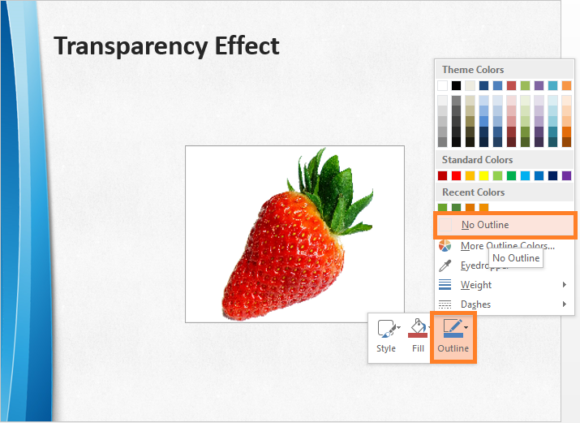
You can remove the outline of the image by right-clicking the image, clicking outline, and then No Outline
Now, we can move the Transparency slider to change its value as shown in the image below
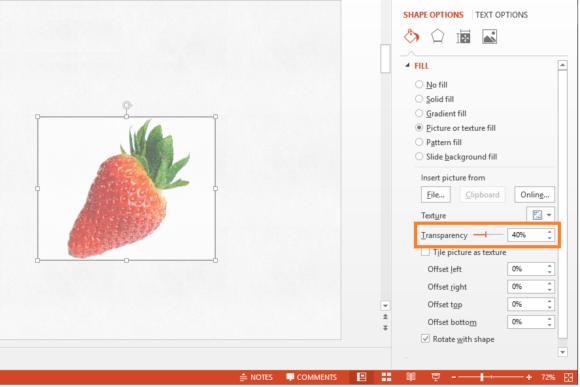
Choose whatever transparency we want from 0 to 100%
If you liked this article then please write a Comment or share it on Social Media via the buttons provided below. Have A Nice Day 🙂
How this works
This is some additional explanation on how this effect works.
Our method uses a shape which will contain the image. The transparent effect is then applied to the shape. The image also gets transparent because it is placed inside the shape. This gives your image a transparent effect.
Its Not Treated As A Normal Image in PowerPoint
One disadvantage of using this method is that the image is not treated as an image but as a shape. So, you cant crop the image or apply other picture-related options to it as you normally would.

Leave a Reply