Ever wondered what to do with those pictures that do not go along with the rest of the presentation? PowerPoint 2013 has the answer with correctness and adjustment settings. Sharpening up those pics or applying an artistic touch is easier than ever. Let us see how to Adjust Color and Apply Artistic Effects in PowerPoint 2013 through the FORMAT contextual tab. Download a free PPT theme with built-in images to test the techniques described below.

Apply Corrections
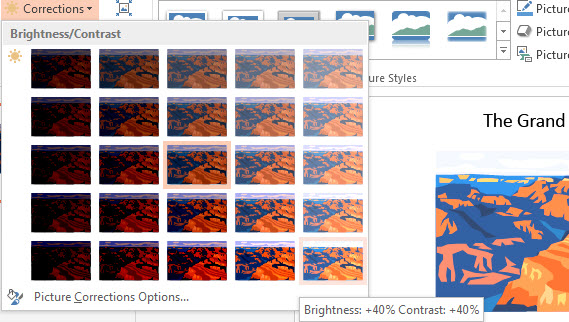
The most common improvement to a picture is by adjusting its brightness, contrast, or softening it. To accomplish this, click on the picture and click on the FORMAT contextual tab under PICTURE TOOLS. Navigate to the Adjust group and click Corrections. Preview each correction in the gallery by hovering the mouse over it. Click on the most suitable Brightness/Contrast level to select it.

Adjust Color
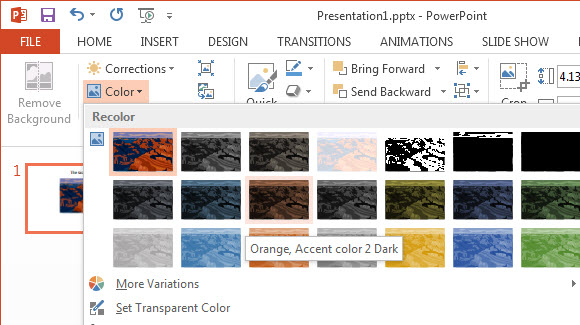
You have the option to re-color an image, or to change its saturation level. Change the color tone by selecting from different shades available under the Color gallery. Access the Color gallery by clicking the FORMAT tab under PICTURE TOOLS. Select the Color option from Adjust group. You may download free Family Pictures PPT theme and practice adjusting colors in family photos.

Artistic Effects
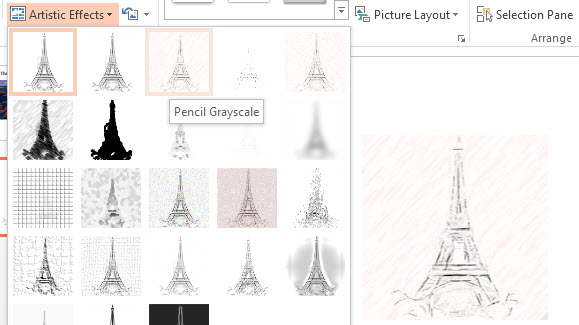
Give your sketches a real artistic tone with Graystyle, plastic wrap, and glass effects. These effects make a picture look as if it is drawn by hand. Click on the desired picture and then click on the FORMAT tab. Navigate to the Adjust group and click Artistic Effects. Choose the most suitable effect from the gallery.

Learn how to Adjust color and Apply Artistic Effects in PPT 2013 by simply selecting the image and clicking on the FORMAT contextual tab. This tutorial describes how to work with objects, such as images and graphics for PowerPoint 2013. Instructions may vary for earlier versions, such as PowerPoint 2010. Choose from free Artistic Themes with professionally designed backgrounds.

Leave a Reply