A mirror effect is simply the illustration of an image with a flipped copy of the same image side by side. We can also apply this effect to text in a presentation. The instructions in this article can be used to apply the mirror effect to images in any version of PowerPoint. The specific instructions mentioned here are for PowerPoint 2013, but they should also work for PowerPoint 2016 and other versions with slight differences.
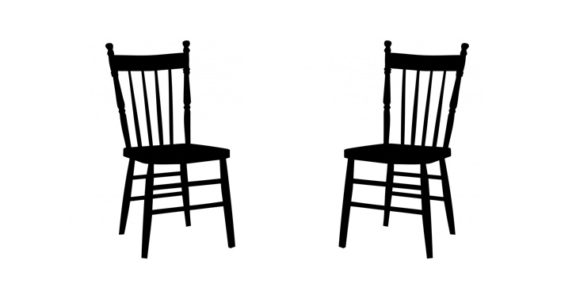
How To Add A Mirror Effect to Images in PowerPoint?
Please follow these steps to add a mirror effect to your picture.
First of all, find a suitable image to insert in your presentation. You can find royalty-free images for your presentations by using Google Image search and many free image websites. Please click here for more information.
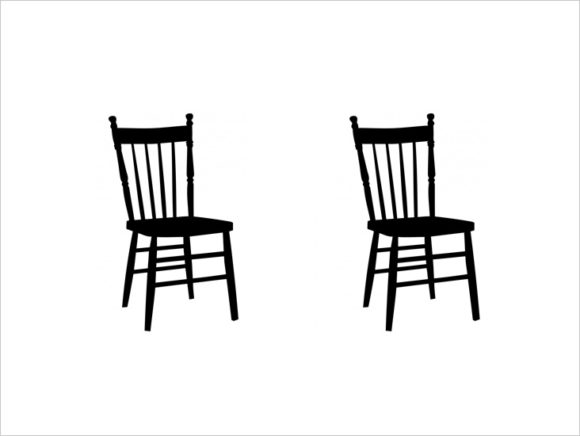
Once you have your image, insert it into your presentation slide. It should look something like this

For many simple images , you can change the background color by using GIMP. Click here to learn how.
You many have noticed that there is a white box around the image. If you want it to disappear, then you’ll just have to change the background color of that PowerPoint side to match the background color of the image. Or, you can just keep things the way they are right now for minimal fuss.
Below, we have chosen to replace the background of the PowerPoint slide to a static white color to match the background of the image.
Copy and paste the image so that it is right next to the original image.
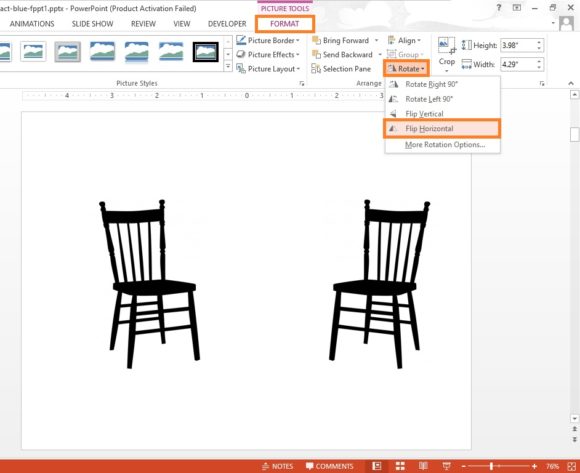
Now, click FORMAT and look for the Rotate button. Clicking it should reveal a menu where you can choose Flip Horizontal as shown below
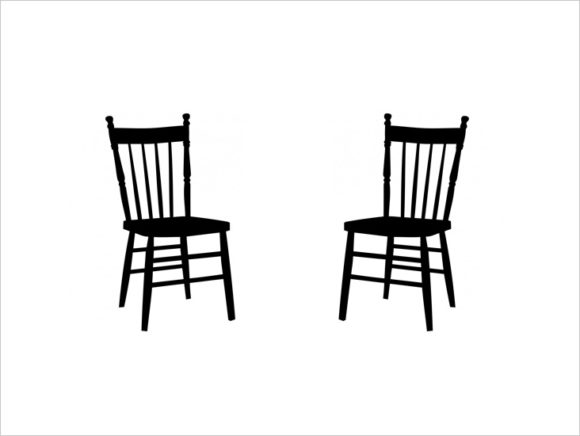
Adjust the position of the images as you please and you should end up with something like this
If you liked this article, then please leave us a comment and share this post on Facebook, Google Plus, or LinkedIn.
Thank You So Much For Reading!
Have A Nice Day ?
Image: [CC BY 0] via PublicDomainPictures

Leave a Reply