Change the page setup if you intend to deliver a talk or presentation on paper or if you have to submit your presentation in the form of a hard copy or 35mm slides. How to Change Page Setup in PowerPoint 2013 explains how to change the slide size and its orientation. Before printing the presentation, you might want to look at ways to format paragraphs, in addition to adding headers & footers.

Toggle Slide Orientation
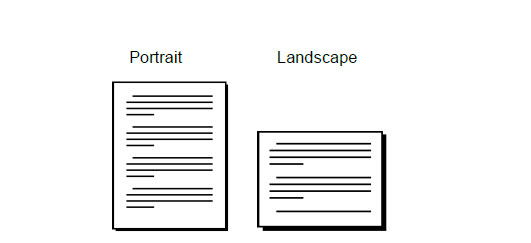
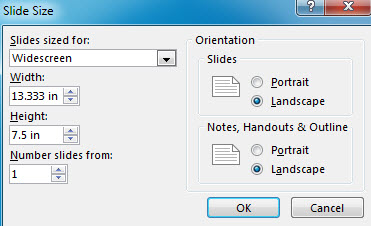
The default layout for slides in PowerPoint 2013 is landscape. To change slide orientation, locate the Ribbon, and Click the DESIGN tab. Locate the Customize group and click the Slide Size button. Now, you see the Slide Size dialog box. You have the option to toggle between Portrait and Landscape view. In Portrait, the image is tall, similar to an A4 sized page. In Landscape view, the image is wide. After selecting the option, click OK. A confirmation dialog box appears, asking to Ensure Fit or Maximize.

Change Page Size
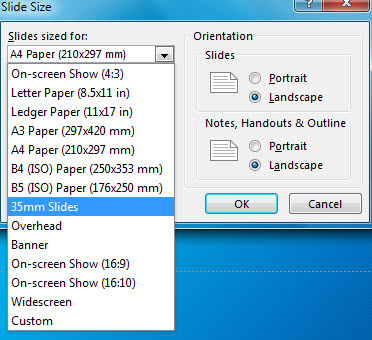
The Slide Size dialog box enables you to choose from a number of page size options from the “Slides sized for” drop-down menu. Users also have the option to create a custom sized slide by changing values in the Width and Height columns.

Change Orientation of Notes or Handouts
Locate the View Tab on Ribbon and click it. The Master View group includes the Notes Master button and Handout Master button. Both buttons have their own Page Setup groups, which include options for changing paper orientation. The Page Setup group allows users to set the Slide Size and number of Slides per Page. After making changes, click OK.
The above tutorial titled “How to Change Page Setup in PowerPoint 2013” comes in handy when taking a printout of a presentation to make notes. Instructions may vary slightly for earlier releases, such as PowerPoint 2010 and PowerPoint 2007. Make changes on a widescreen educational presentation or a business oriented presentation, by customizing page setup options.

Leave a Reply