If you ever inserted a SmartArt which looks good, but needs slight modification, then this free How To article is for you. Before we move further, it is assumed that you know how to Insert SmartArt. Let us also explain what is a SmartArt element. Elements of a PowerPoint graphic are its individual shapes. In How To Customize SmartArt Elements in PowerPoint 13, you learn how to add shapes to an existing graphic, remove a shape, or to change it.
How To Add Identical Shapes
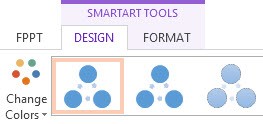
Select the graphic element, which is closest in position to where you need to add the new one. Click the contextual Design tab under SmartArt Tools.
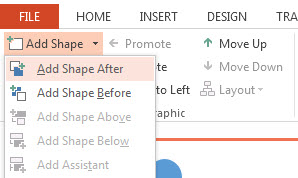
Click Add Shape button under Create Graphic group. A drop down menu appears. To add a shape after the existing one, click Add Shape After. To add shape such that it appears before the existing one, click Add Shape Before. Both of these options duplicate the existing/selected shape element. To practice adding shapes, download free Seasons PowerPoint background.
How To Change Existing Shapes
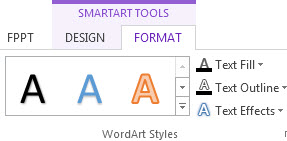
To change a shape element, select it. Navigate to the contextual Format tab under SmartArt Tools, and click it.
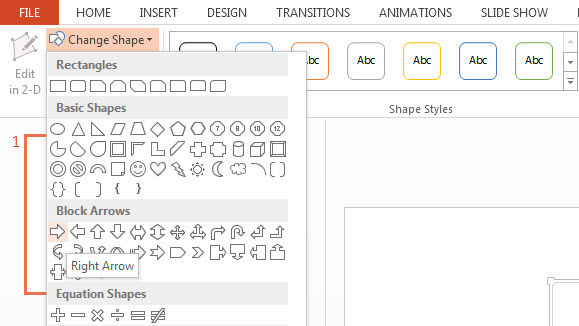
Now navigate to the Change Shape button located in the Shapes group, and click it. A drop-down menu appears. It contains a comprehensive list of shape elements, including: rectangles, basic shapes, block arrows, and equation shapes, among others. Select the desired shape. This will replace the existing shape with the new one. The choice of most suitable SmartArt element is by trial & error, as no preview appears when you hover the mouse over a shape.
How To Remove a Shape
Just select the SmartArt element and press the <Delete> key. This deletes the shape. Figure shows how the SmartArt graphic has transformed by deleting one of its circular elements. You can perform similar functions on free Chart PPT themes.
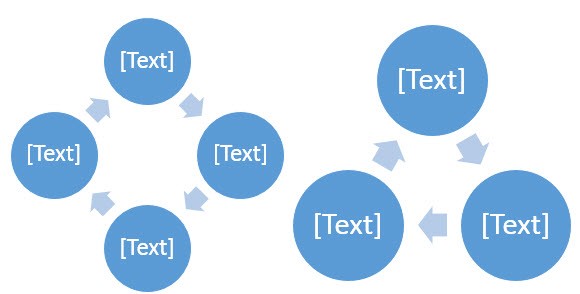
The above explained how to Customize SmartArt elements in PowerPoint 2013 with the help of SmartArt Tools, under the PowerPoint Ribbon.

Leave a Reply