
Have you ever tried using the Laser Pointer feature in PowerPoint? Its pretty neat and surprisingly easy to use. Its pretty easy, and I can explain it in a jiffie.
A Very Quick Way To Use The Laser Pointer in PowerPoint
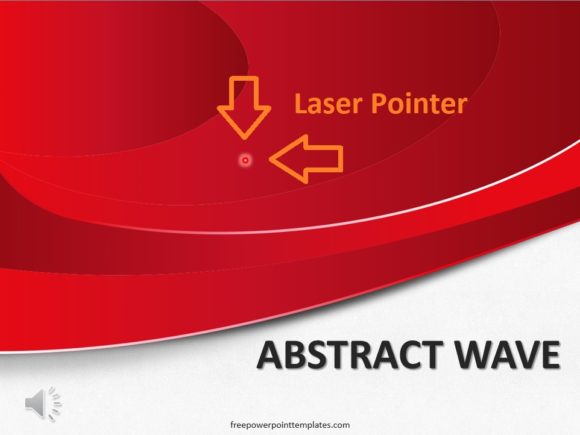
Simply start a slide show of your presentation. After that, press Ctrl+Left Click and drag the Mouse button. And, thats it. You’ve just used the Laser Pointer feature in PowerPoint. This is what the Laser pointer looks like with default settings:
(Please click here to download the PowerPoint Template used in this example)
So, What About The Laser Pointer Feature?
The Laser pointer feature in PowerPoint allows you to turn your mouse pointer into a laser pointer! It shows a circle on the screen that you can use to point to things in your presentation. Its pretty convenient. Because, if you’re using it then you don’t really need to put a lot of visual queues in your presentation.
You can safely avoid things like callouts, arrows, and speech bubbles if you’re only going to be presenting to a live audience. However, there is merit to using these visual queues if you intend to share your presentation with people who are going to read it. Which would be the case if you’re planning on emailing the presentation. In which case, keep the callous, arrows, speech bubbles, etc.
How To Configure The Laser Pointer in PowerPoint?
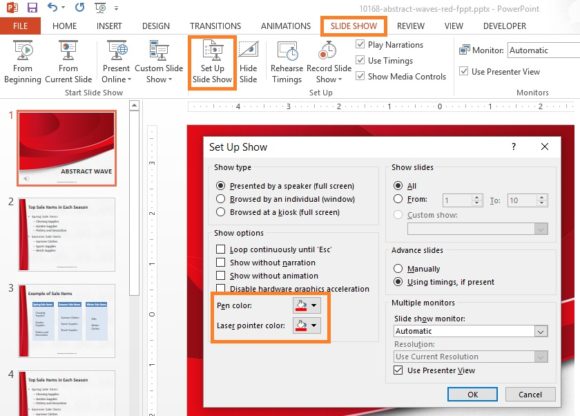
You can use the default red dot laser pointer in PowerPoint. However, you can also change a few settings if you want. Of course, the lazer pointer works fine even when the background is also red (like the example above). However, you might want to change its color for some other reason.
You can access configuration options by going to SLIDE SHOW and then clicking Set Up Slide Show. You should see something like this image below:
Leave a Reply