
PowerPoint is used to make a presentation and to share an idea. These presentations can be secured with a password to make sure that no one accesses them incorrectly. Sometimes you might want to make sure that no one tries to change something from your presentation when you need to share it with many people. PowerPoint 2013 contains presentation security features which help you Password Protect a PowerPoint presentation. Here we will show you how to use these features on your presentation.
How to Password Protect a Presentation in PowerPoint 2013?
Follow these steps:
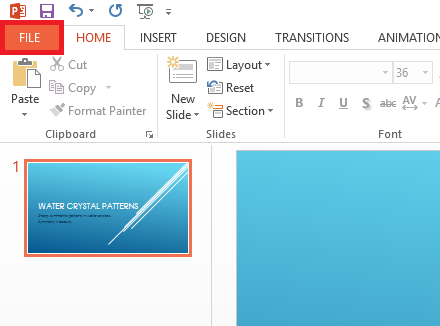
- Click the File button as highlighted below.
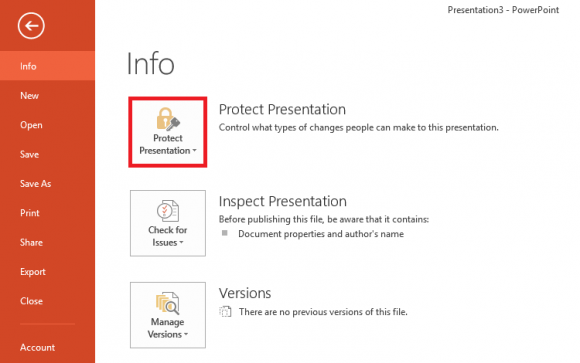
- Go to the Info tab > click Protect Presentation
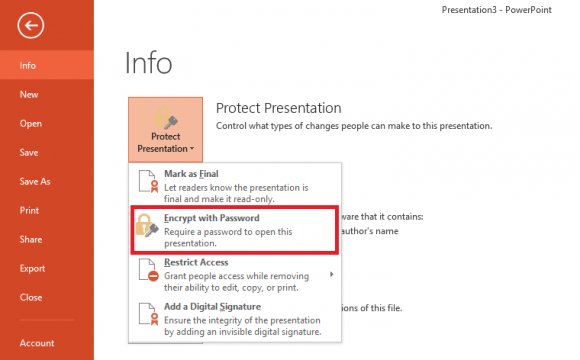
- Click Encrypt with Password
- Enter a Password that you like and click OK. A simple password would be ideal because if you can’t remember the password, then you’re probably not going to be able to open the presentation anymore either.
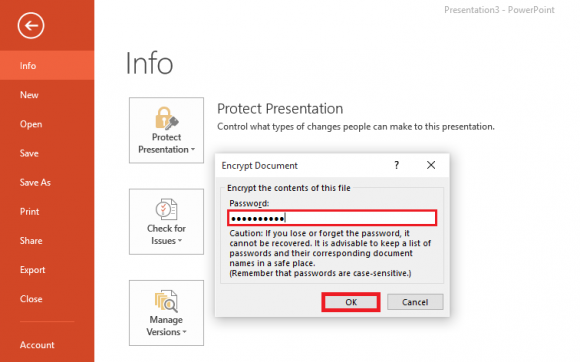
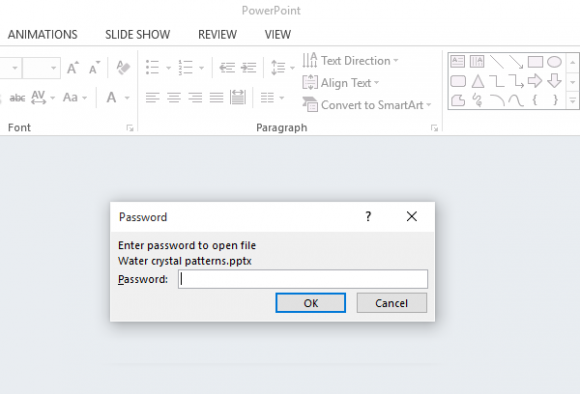
- You’ll be asked to enter the password twice for confirmation.
- Anyone who tries to open the presentation will need to enter the password to view and edit it.
You can also disable the password if you want:
- Click File as shown below.
- Go to the Info tab > click Protect Presentation
- Click Encrypt with Password
- Leave the Password field empty and click OK, thats it!
How To Password Protect Editing A Presentation in PowerPoint 2013?
You can also allow people to freely view the presentation but at the same time, not allow them to edit anything. This prevents anyone from making changes in your presentation before passing it on to other people. Here’s how to do it:
- Click File as shown below.
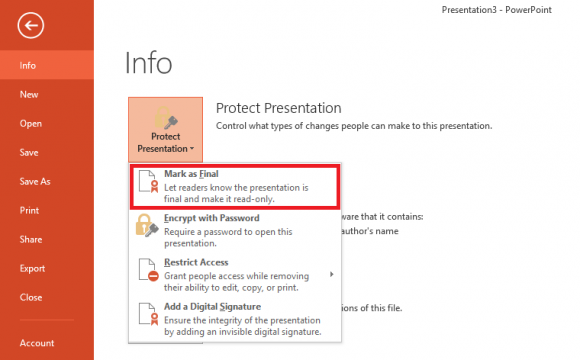
- Go to the Info tab > click Protect Presentation
- Click Mark as Final
- Click OK on the prompt.
- Additional information is shown in a final dialog box.
With this, the document has been marked final. Now, typing, editing, and proofreading are not allowed. You can disable this feature by clicking the Edit Anyways button below the ribbon. You can do this because you are the owner of the file. If you decide to to make this presentation Read-Only, then, you will have to repeat this process again and mark the presentation as final before sharing it.
Leave a Reply