
Screen recording is a nice feature that helps you record what you see on your monitor. You can use this feature to show people how to do something by making a video. Videos are special because they contain animation and audio. This new feature in PowerPoint 2016 helps you to easily record the screen and insert the video in a PowerPoint presentation.
How To Record The Screen In PowerPoint 2016?
Decide what you want to record and practice it a few times to get it right.
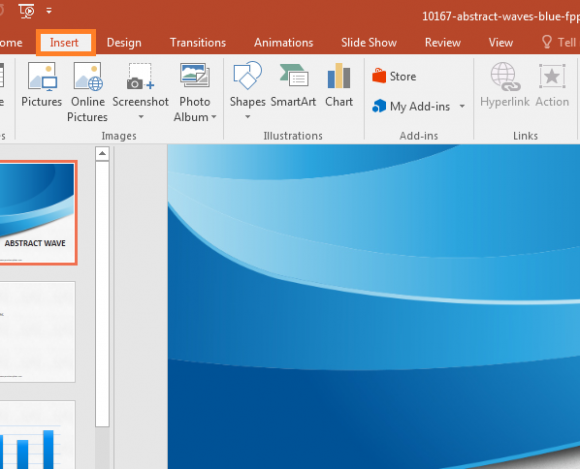
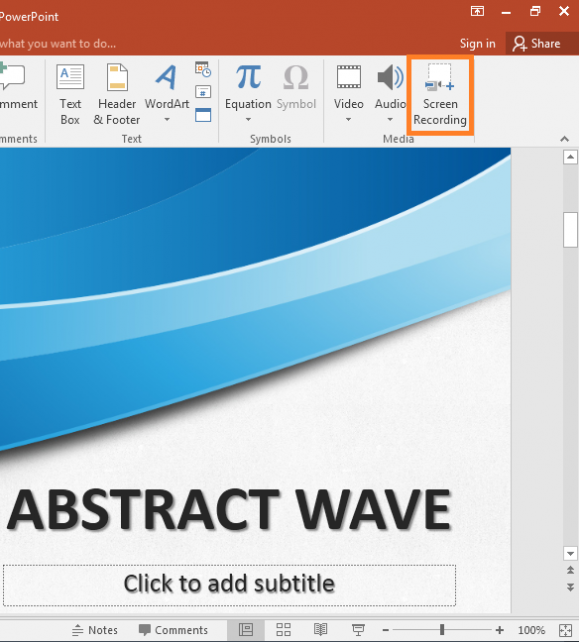
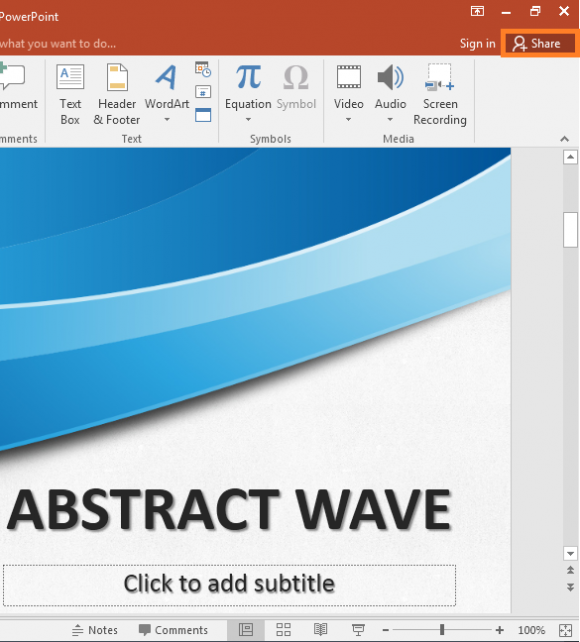
Once you’re ready, click Insert
and then Screen Recording
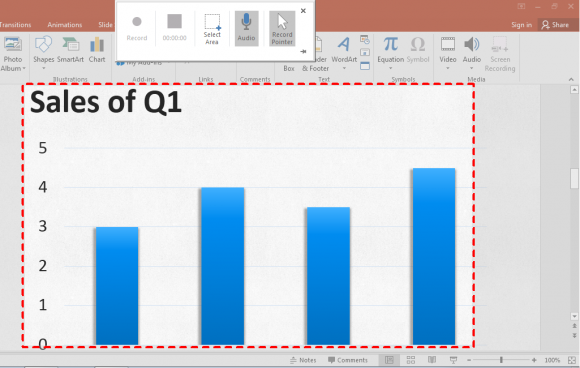
Select a portion of the screen, and click the Record button to start recording the screen.
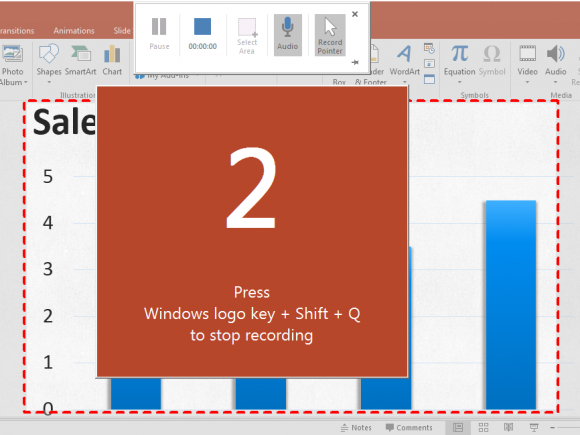
Use the key combination Windows Key + Shift + Q to stop recording the screen.
The video is recorded in HD (1920 x 1080) resolution, and looks sharp. This feature is also available in PowerPoint 2013 after installing recent updates.
How To Share The Captured Video Online?
You can share the video you just captured online by clicking the share button on the upper-right corner of the screen.
Tip: You can also capture still images of the screen using the Print Screen key. This key is located in the top row above the directional cursor keys on most desktop and laptop keyboards. It is sometimes labeled as Print Screen, PrtSc, Prt Scr Sys Rq, etc. You can paste the captured image in any version of PowerPoint or MS Paint. You can also paste this image in most rich text and image editing software.
If you liked the PowerPoint template you see in the screenshots above, then click here to download it. Have a great day 🙂
Leave a Reply