
Hi there, we are ready to make a Checklist or a To Do List in PowerPoint. These specific instructions are written for PowerPoint 2013 but they should work for almost any version of PowerPoint.

A Few Words About Checklists
Checklists are used by people around the world. There’s something satisfying about completing a task and checking an item in a list to mark the accomplishment. Checklists are used in presentations because of their assertiveness.
Where Are Checklists Used in PowerPoint Presentations?
They are used in business and marketing presentations for various lists. Typically, lists containing DOs and Don’ts of something.
These are the icons that we will be using in this example:


You can download them using these links: Red Cross (Image) and Green Tick (Image)
If the colors of these icons don’t match up with your presentation template, then you can download other icons from many places online. Click here to learn more on how to get these images legally.
How To Make A Checklist In PowerPoint?
There is no standard way of making checklists in PowerPoint. Just know that the checklist has to be prominent and easy to read. It should not be too small. It should be on the slide by itself. So, it should not share the space with other things on the slide.
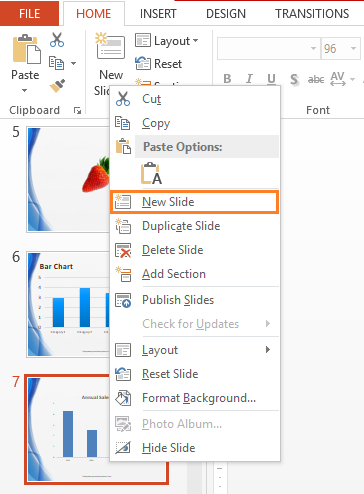
Right-click and existing slide and click New Slide
Delete any elements on the slide. You can do this by Clicking on the slide, pressing Ctrl+A and then pressing Delete to remove them
Insert the Check and Cross images in your slide.

(Please click here to download the PowerPoint Template used in this example)
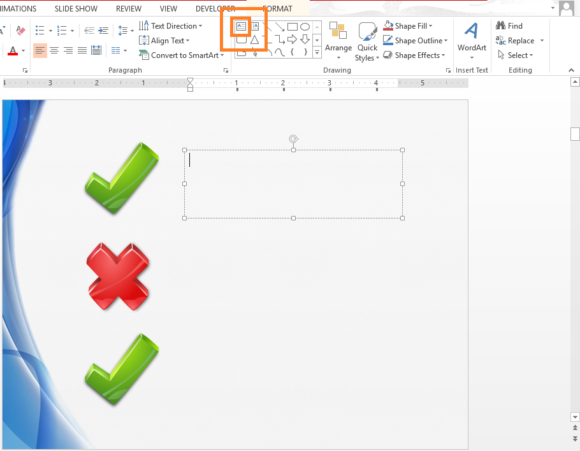
Now, make a Text Box. We can do this by clicking the HOME menu on the Ribbon Toolbar and then clicking the TextBox button. Click and drag to make a Text Box on the slide.
Format the text the way you want. You can increase or decrease the size of text by highlighting it and then pressing Ctrl+] to increase text size or Ctrl+[ to decrease text size.
Aligning and positioning these elements is easy. Click and Drag the elements on the slide until you see a red line(s) appear. These lines will guide you with centering and positioning elements on the slide.
The result should look something like this.
Leave a Reply