
Did you know that you can easily show and hide certain elements in a PowerPoint slide. This is useful for hiding stuff you don’t need printed, or when preparing the same presentation for two different audiences. We’ll start by seeing how and where to find these options in PowerPoint 2013. This should also work for many previous versions of PowerPoint. In this blog post, we will be talking about how to show and hide slide elements.
How To Use The ‘Selection and Visibility’ Tool In PowerPoint?
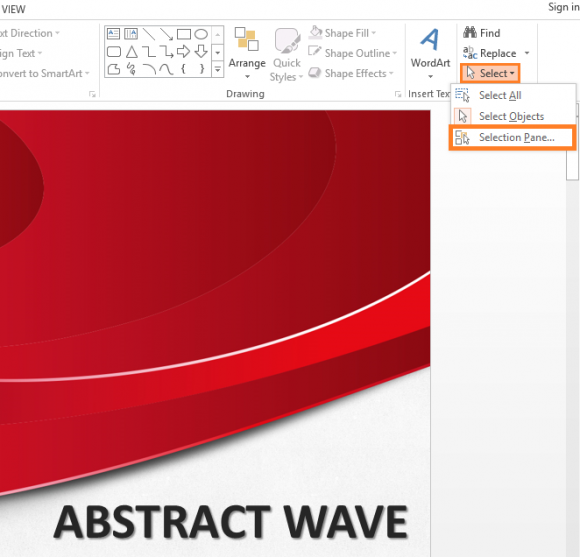
You can find the selection and visibility tool in the home ribbon in PowerPoint 2013. It is located on the right side of the Home ribbon. Click the Select button, and click Selection Pane...
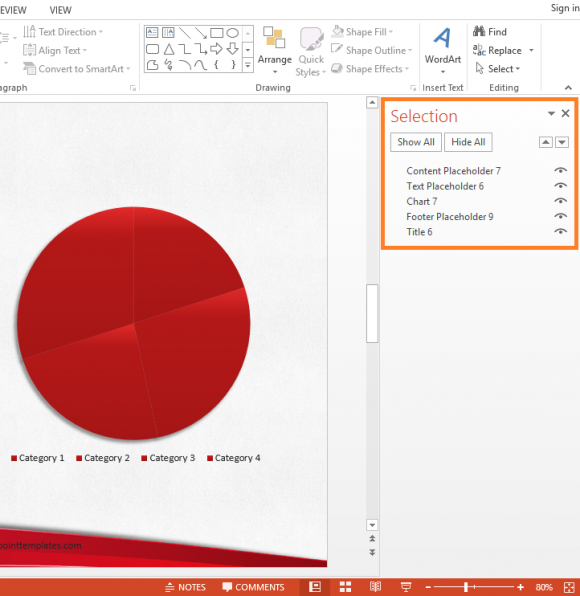
A panel should appear with the list of elements on that slide and an icon on the right side of each of them.
You can download the template in the screenshot by clicking this link.
Clicking this icon should make that slide element appear and disappear. You can also click any of the items in the list. A toolbar relating to that slide element should appear on the ribbon. This helps you easily change the formatting of specific slide elements.
When To Use This Feature?
You can use this feature when you want to print a presentation. When you’re printing a presentation, you probably don’t want to include slide elements click notes and arrows. If you want to remove some of these things, then you can actually make them disappear by using the selection and visibility tool.
You can also use this tool to adapt one presentation file to different audiences. You can include more arrows and more notes, and less arrows and labels on the other, depending on the audience you’re presenting to. Get creative and productive, Have Fun!
Image Courtesy:
A material design icon by GitHub [Attribution-Share Alike 4.0 International] via Wikimedia Commons
Leave a Reply