
It is pretty common to include pictures in PowerPoint presentations. Sometimes you will have to use pictures to explain how a software works on the computer, or you may want to take a picture of your screen to illustrate something else. Doing this is a lot easier than you might think.
How To Take A Screenshot of The Screen?
There are a few ways of taking a screenshot. One way is to press the Print Screen key. When you press this key, it copies the contents of the screen. You can then paste the screenshot in Paint, PowerPoint, or any other software you might be using. If you only wanted to take a picture of a certain Window, then you can use the key combination Alt+PrtSc (Alt + Print Screen). After that, paste the screenshot wherever you want and you should get the picture of the Window ready to go. You can also take a normal screenshot and crop the part of the image that you need from it.
How To Use Snipping Tool
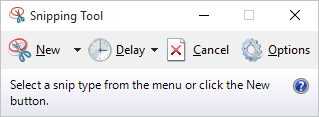
The Snipping Tool is a nifty software hidden in Windows Vista, Windows 7, 8, and 10 so far. This tool could very well fulfill all your needs for taking snapshots of the screen in Windows. It is really simple and easy to use. Launch the snipping tool by pressing the Windows Key and then typing “snipping tool” in the search bar. Click the text that says “snipping tool” and it should appear.
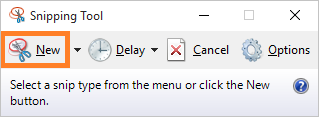
Click New and select an area of the screen to take a picture of it.
You can use a Pen, a Highlighter, and Eraser to edit the picture. Than, use the Save icon to save it to a know location. And, thats all there is to it. Now you can insert that image in your presentation or video.
Leave a Reply