When you insert an image in PowerPoint, you can position text around that image. This is called Text Wrapping. You’re basically wrapping the image with text. This can be commonly seen in magazines and newspapers.
Wrapping Text Around Different Objects
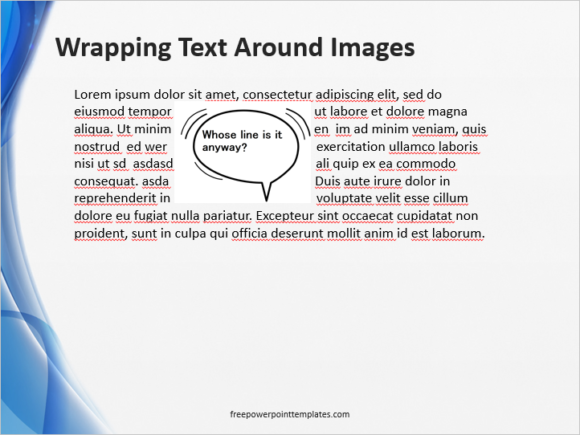
You may want to wrap text around an irregular shape or a simple shaped image. This is easier to do in older versions of PowerPoint, but not in versions after PowerPoint 2003. In the end, you can manually wrap text around any image using the space bar and the Shift+Enter key combination.
How To Wrap Text Around Objects in PowerPoint 2010, 2013, and 2016?
Once you’ve opened your presentation in PowerPoint, insert an image and insert the text. To wrap the text around the image, follow these steps:
First position the image on the text as sown in the image below
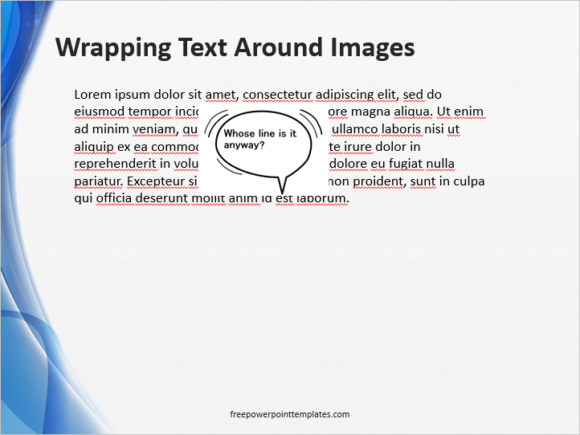
As you can see, the image is blocking some text. Of course, the text that is behind the image needs to be visible. Use the Spacebar key to move the text behind the image so that it comes out from the other side.
You’re basically moving text so that it is visible. Here, we have use Spacebar to move the first line from behind the image.
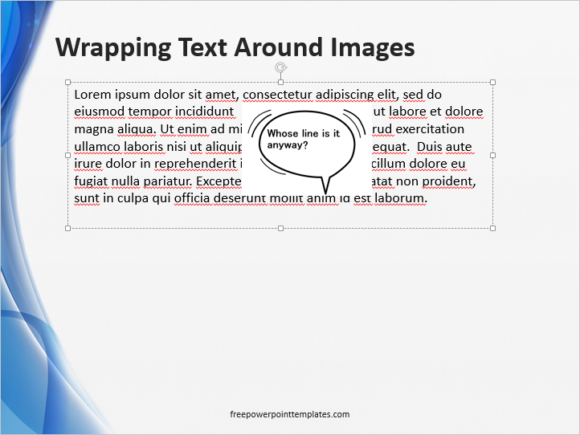
In the same way, we can move all the lines from under the image to wrap the text around it.
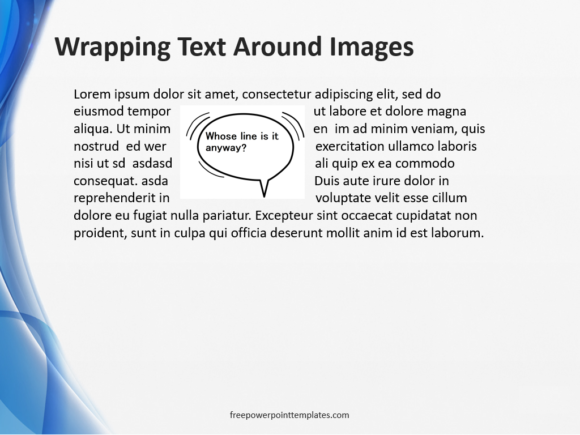
If you don’t like the image positioned in the middle of the text then you may position it somewhere else.
The Wrap Text Feature in Microsoft Word
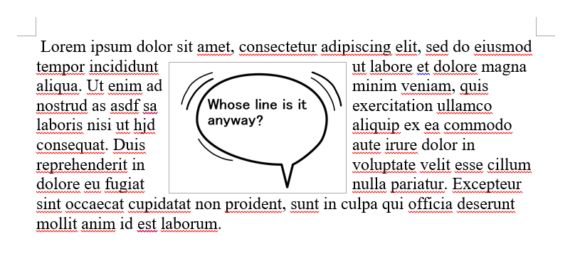
Text wrapping options are more readily available in Microsoft Word. One thing you can do is to use the text wrap feature in Microsoft Word, and then take a screenshot of the text. After that, you can paste that screenshot in PowerPoint. If you want to learn how do do this then please click here to read the instructions.
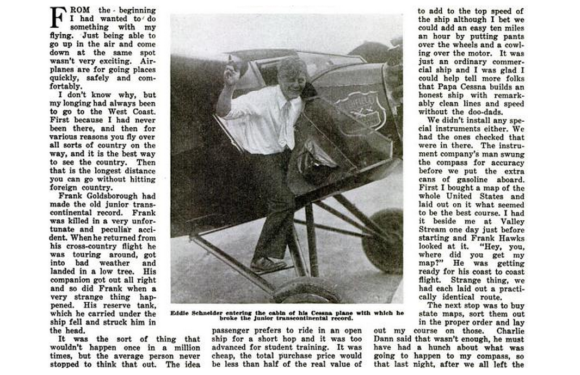
Eddie August Schneider [Public domain], via Wikimedia Commons

Leave a Reply