A table consists of horizontal rows and vertical columns. You may want to resize the rows and columns, depending upon how much information is entered in them. Default cell width in PowerPoint is 0.42″, and default height is 0.22″. This is not practical for all purposes, so PowerPoint gives you the option to change it. Before we illustrate the process of Adjusting Width and Height of Cells in PowerPoint 2013, make sure you know how to Create a table.
Column Width Adjustment
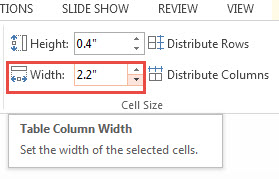
Adjust the width of a single column or multiple columns if the information is not displayed clearly. Accomplish this by highlighting the required columns with the Mouse. Now navigate to the LAYOUT tab on the Ribbon. It is found under the contextual TABLE TOOLS tab.

The Column width Text box is found under Cell Size group. Adjust column width numerically by entering the required width in inches. This will change width of selected columns, and not the entire table. An alternate way of adjusting width is by manually clicking the right border of a column and dragging it. Practice this on a sample table, found in the Free Green Border PPT template.

Row Height Adjustment
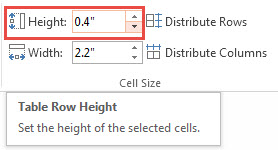
It is not often that a user has to adjust row height, as rows expand automatically to accommodate text. To do this, select the row/rows by highlighting them with a Mouse. Go to the LAYOUT tab on the Ribbon. Row Height is under the Cell Size group. Change the height. An alternate way to do this is to drag the bottom border of a row in vertical direction.

Distribute Rows and Columns Evenly
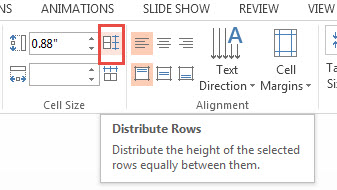
Adjusting Width and Height of Cells in PowerPoint 2013 is made easy with the Distribute Rows and Distribute Columns features. Accomplish this by selecting the required rows and columns. Click the LAYOUT tab, followed by Distribute Rows/Distribute Columns buttons, found in Cell Size.

Add a table on a any one of the free PowerPoint presentations.

Leave a Reply