
There is more to SmartArt than just Customizing graphical elements, as PowerPoint gives you the option to change layout, change color, or style. Learning How To Format SmartArt in PowerPoint 2013 gives a unique touch to the animation or graphic, such that it fits within your brand or company theme. The below tutorial explains how to accomplish formatting tasks through PowerPoint Ribbon, as well as through the contextual menu.
How To Change Layout
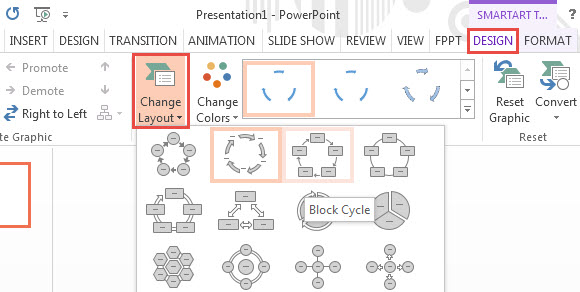
When you insert SmartArt, you find it categorized into List, Process, Hierarchy, etc. To view other options from the same category, follow these steps. Navigate to the Design tab under SmartArt Tools on the PowerPoint Ribbon. Under Layouts group, click Change Layout. A drop down menu appears. Select the most suitable diagram.
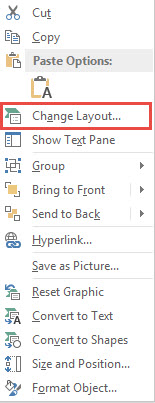
To do this through the Right Click contextual menu, do this. Right Click anywhere on the free space inside the boundary. Click Change Layout.
How To Change Color
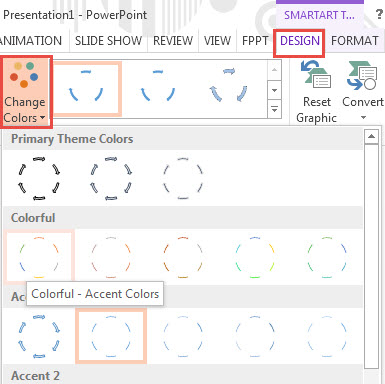
Under SmartArt Styles group, click Change Colors. A drop-down menu appears. Choose from Primary and Colorful categories. Hover the mouse over an option to see its preview.
How To Change a Style
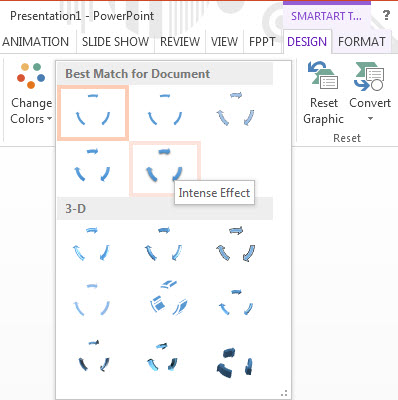
On the SmartArt Styles group, click the drop down option. A list of styles are available. Choose from best match and 3-D variations.
How To Discard Changes
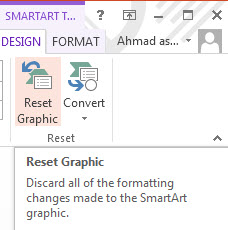
If you are not okay with the formatting changes and want to restore the graphic to its original appearance, do as follows. Under the Reset group, click Reset Graphic.
The above shows how to format SmartArt in PowerPoint 2013 PC. Instructions involve highlighting the graphic, and choosing from options in the Design tab. Download free Seasons PPT theme to practice applying the formatting options.
Leave a Reply