
Clip Art consists of graphics, pictures, and animations packaged with PowerPoint. You can also insert your own media into a presentation. Clip Art options in PowerPoint 2013 include Royalty free pictures and illustrations, in addition to images found with a simple Bing Search. This tutorial serves as a quick and easy guide to Insert Clip Art in PowerPoint 2013. In case you are making handouts of a presentation, make sure the clip art fits the slides. You can achieve this by adjusting the presentation layout to match the paper size.
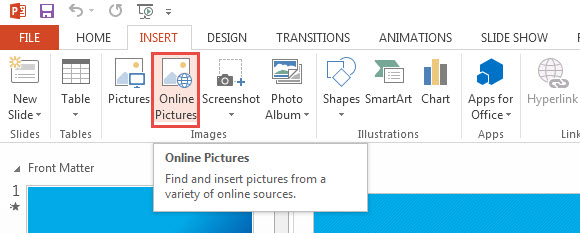
Click on the INSERT tab (position number three from the left) on the Ribbon. Under the Images group, Click Online Pictures. This helps find royalty free pictures, in addition to the Bing pictures library.
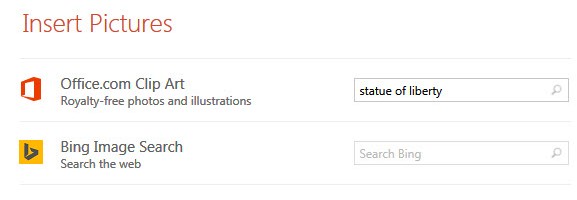
The Insert Pictures dialog box is seen in the image below. Write down the image title in either the “Office.com Clip Art” text box, or the “Bing Image Search” text box. In our example, we have entered “statue of liberty” into the “Office.com Clip Art” textbox. Royalty free pictures fall in the public domain, which means they are free to use and distribute. Once you press the magnifying glass, it will initiate the search process.
Make sure you are signed into your Microsoft account, as this broadens up your search options to Flickr and Facebook images.
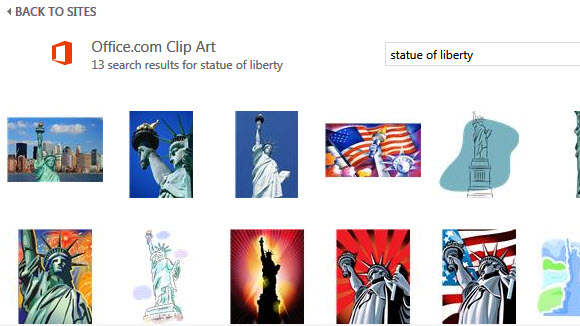
The image below shows 13 search results for “statue of liberty”. Scroll the search results and select the image you find suitable for the slide. After selecting the image, click Insert. Animated images (gif) have a star at the bottom right.
The above tutorial describes how to Insert Clip Art in PowerPoint 2013. Instructions may vary for earlier releases of PowerPoint, such as PowerPoint 2007 and PowerPoint 2010. You can download ready-made free PowerPoint presentations with placeholders for inserting family photos at the beach and much more.
Leave a Reply